
This tutorial is dedicated to learning techniques to machine embroider a tote bag. Since I need a gift for my aunt’s birthday in March I decided to monogram a tote bag for her and share the process with you. I used the Vine Monogram font from Rivermill for the monogram lettering (http://www.rivermillembroidery.com/4-Inch-Size-ONLY-Vine-Monogram-Machine-Embroidery-Font-_p_443.html). I purchased the tote bag from a local merchant that sells tote bags on the side to make a little extra money. I’m not sure where this bag can be purchased online. On with the tutorial…
 I begin every tote bag project by printing out my embroidery design. Cut out your printed design close to the design, but make sure you don’t cut off the vertical and horizontal centering lines when trimming your printed design.
 First I need to find the center of the bag – I typically just find the center measurement between the tote bag handles as centering design between the handles will help the monogram look visually centered. I use a FriXion Erasable Gel Pen (available at Amazon or Joann.com) to mark the center point of the handles at the top of the bag.
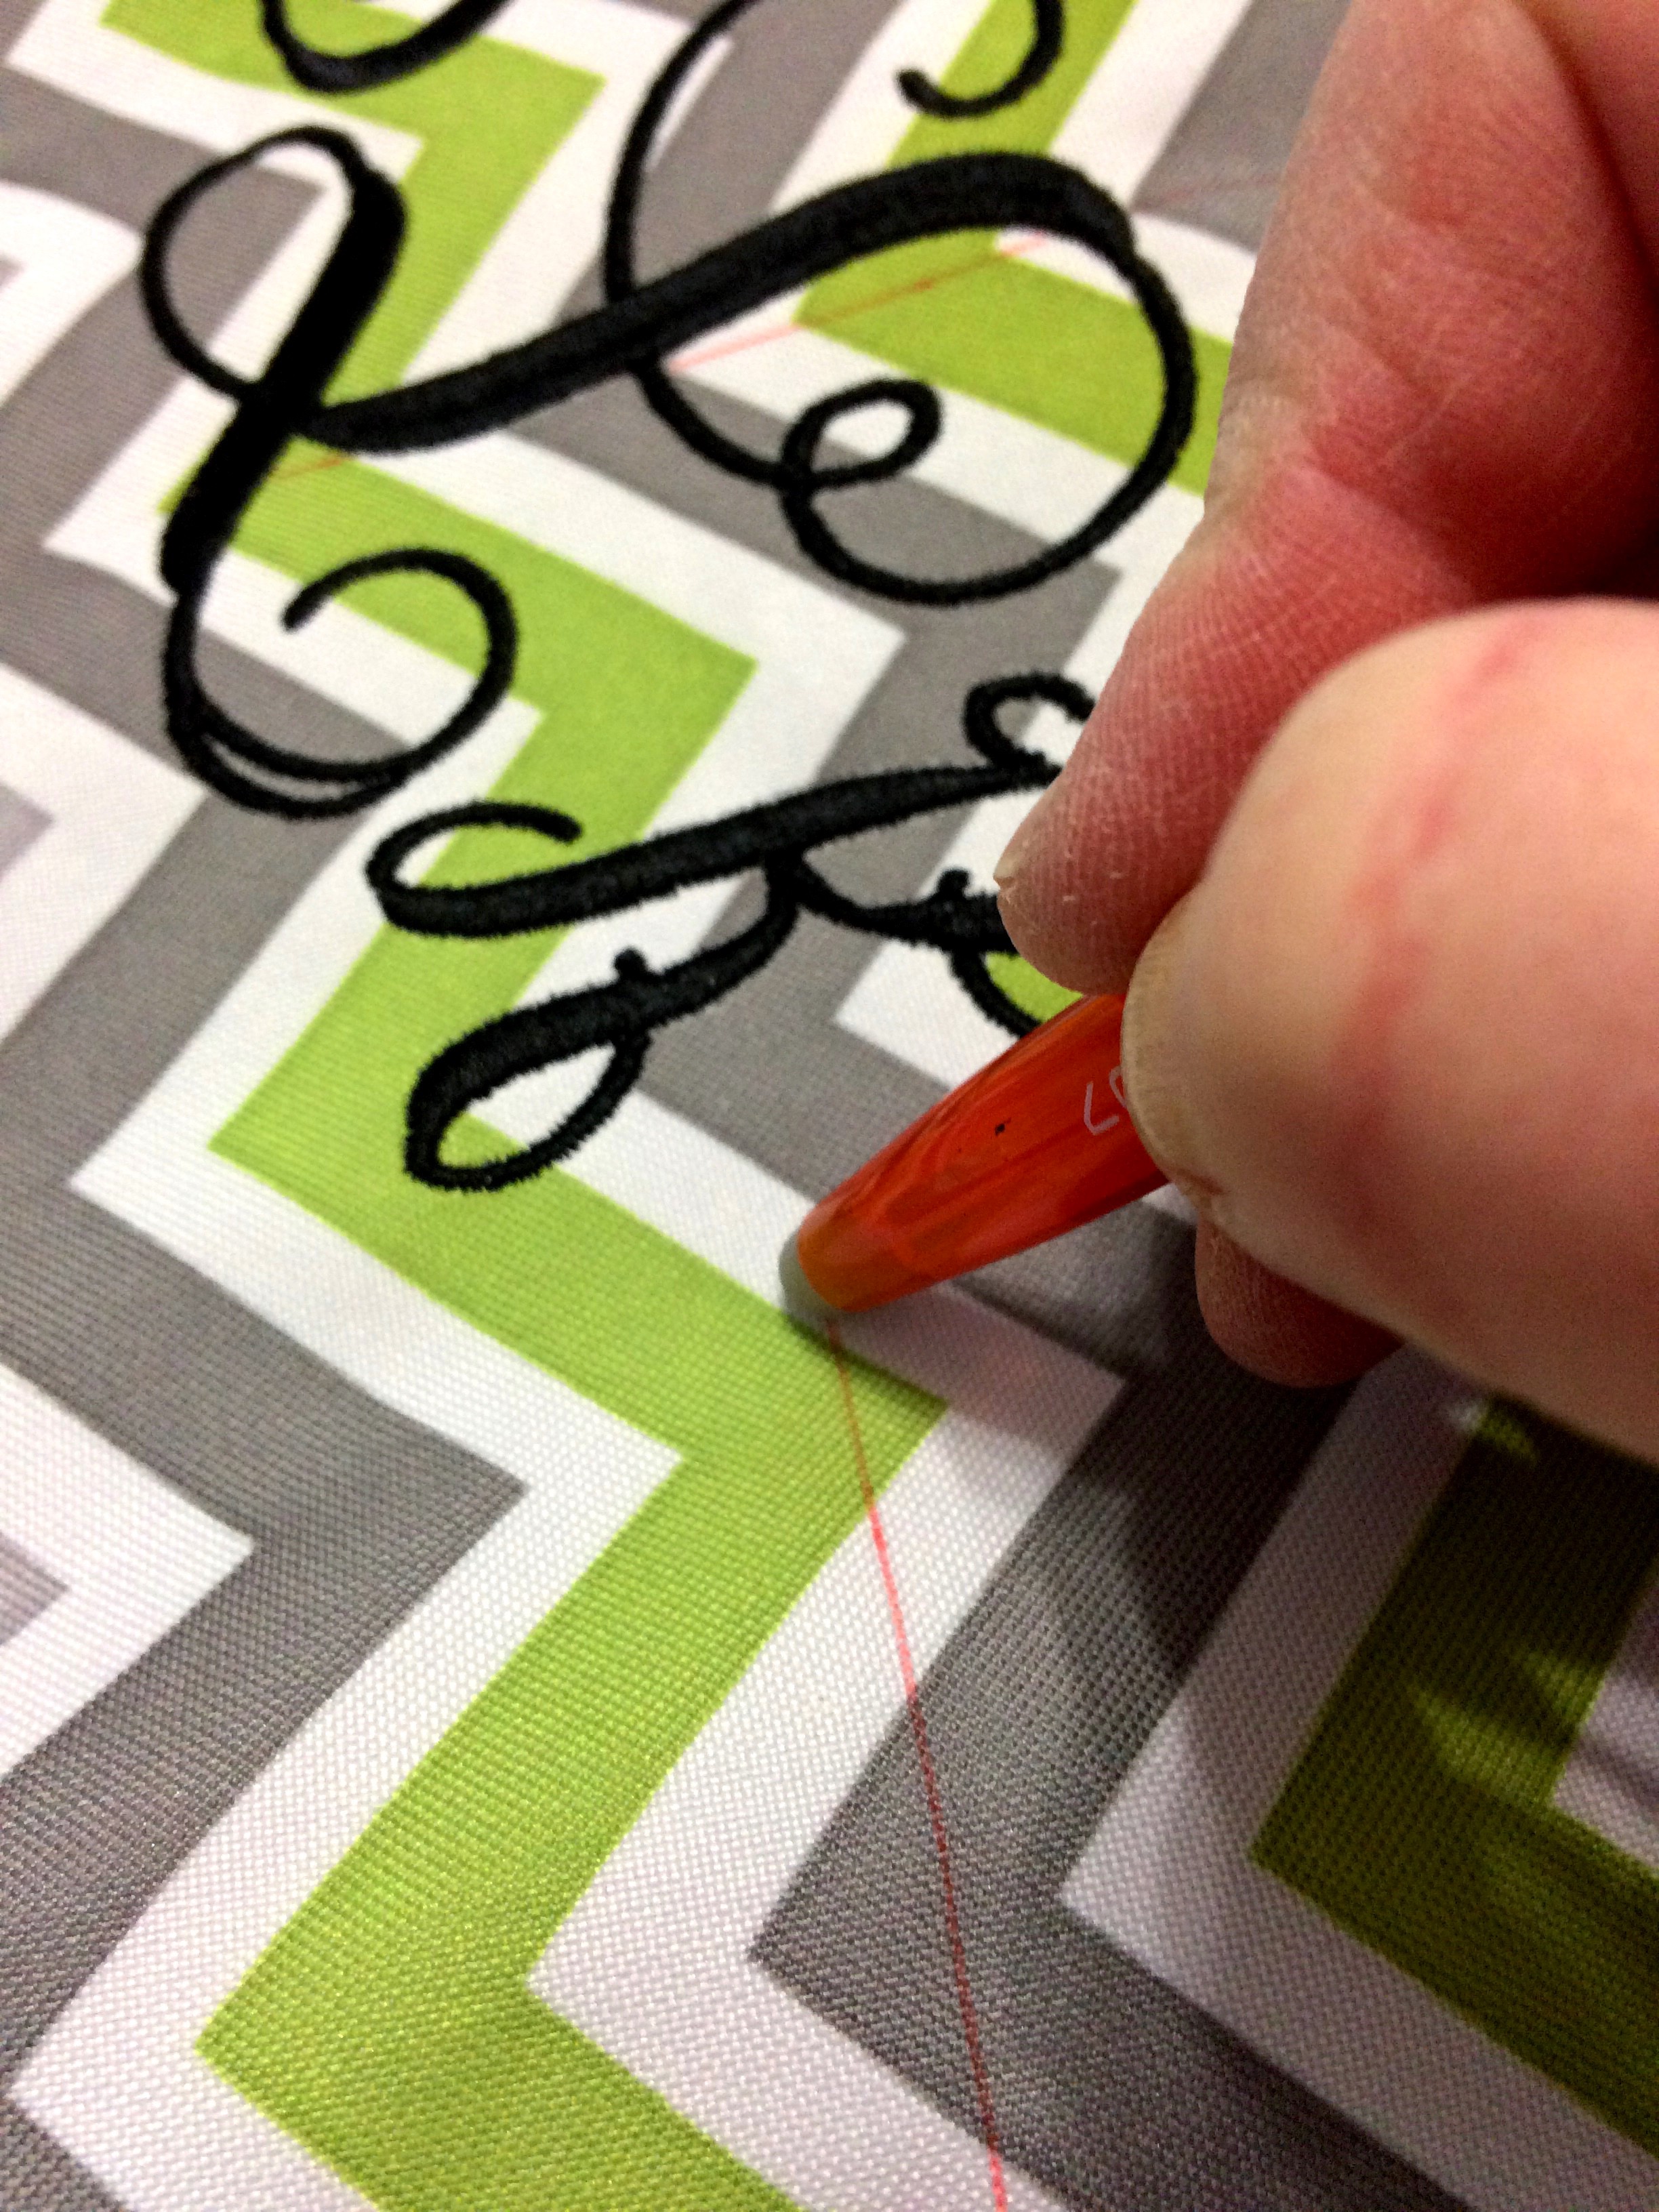
 Next I draw a vertical line down the center of the tote bag to use as a centering line for my monogram.
 I fold my printed design in half and line it up with the center fold with the vertical centering line on my tote bag.
 Here I’ve sprayed the back of my printed design with a temporary spray adhesive (I use Sulky KK2000) and unfold the printed design and press it to the tote bag. Next I line up a ruler with the horizontal centering lines on my printed design, then I use my FriXion pen to draw a horizontal centering line across the entire printed design and about 6″ past the paper on either side.
 Next I fold down the tote bag (top to bottom) centering the fold on the horizontal centering line.
 Now it’s time to prepare your hoop and stabilizer. I use two layers of medium weight cutaway stabilizer for tote bags. I use two layers because it provides a good base to pin the tote bag (one layer often isn’t strong enough and the pins rip right through it). Hoop the two layers of stabilizer then draw vertical and horizontal centering lines on the stabilizer with a FriXion pen and finally spray well with a temporary spray adhesive.
 This is probably the most difficult step in this tutorial. Line up the folded tote bag (I usually pin the folded tote bag together to keep my fold line straight – the pin you see here doesn’t go through to the stabilizer) along the centering line on your stabilizer (the direction of how you line up your tote bag depends on the orientation of the design you intend to sew-out). Center the opposite direction by feeling through your tote bag for the center notches on the side of your hoop (there are raised notches on the vertical and horizontal centers of your hoop). Once you find the center fold down the top of the tote bag and line it up by once again feeling for the raised center notch though the tote bag.
 Once the tote bag is centered on the hoop use sturdy straight pins to secure the tote bag to the stabilizer on all four sides.
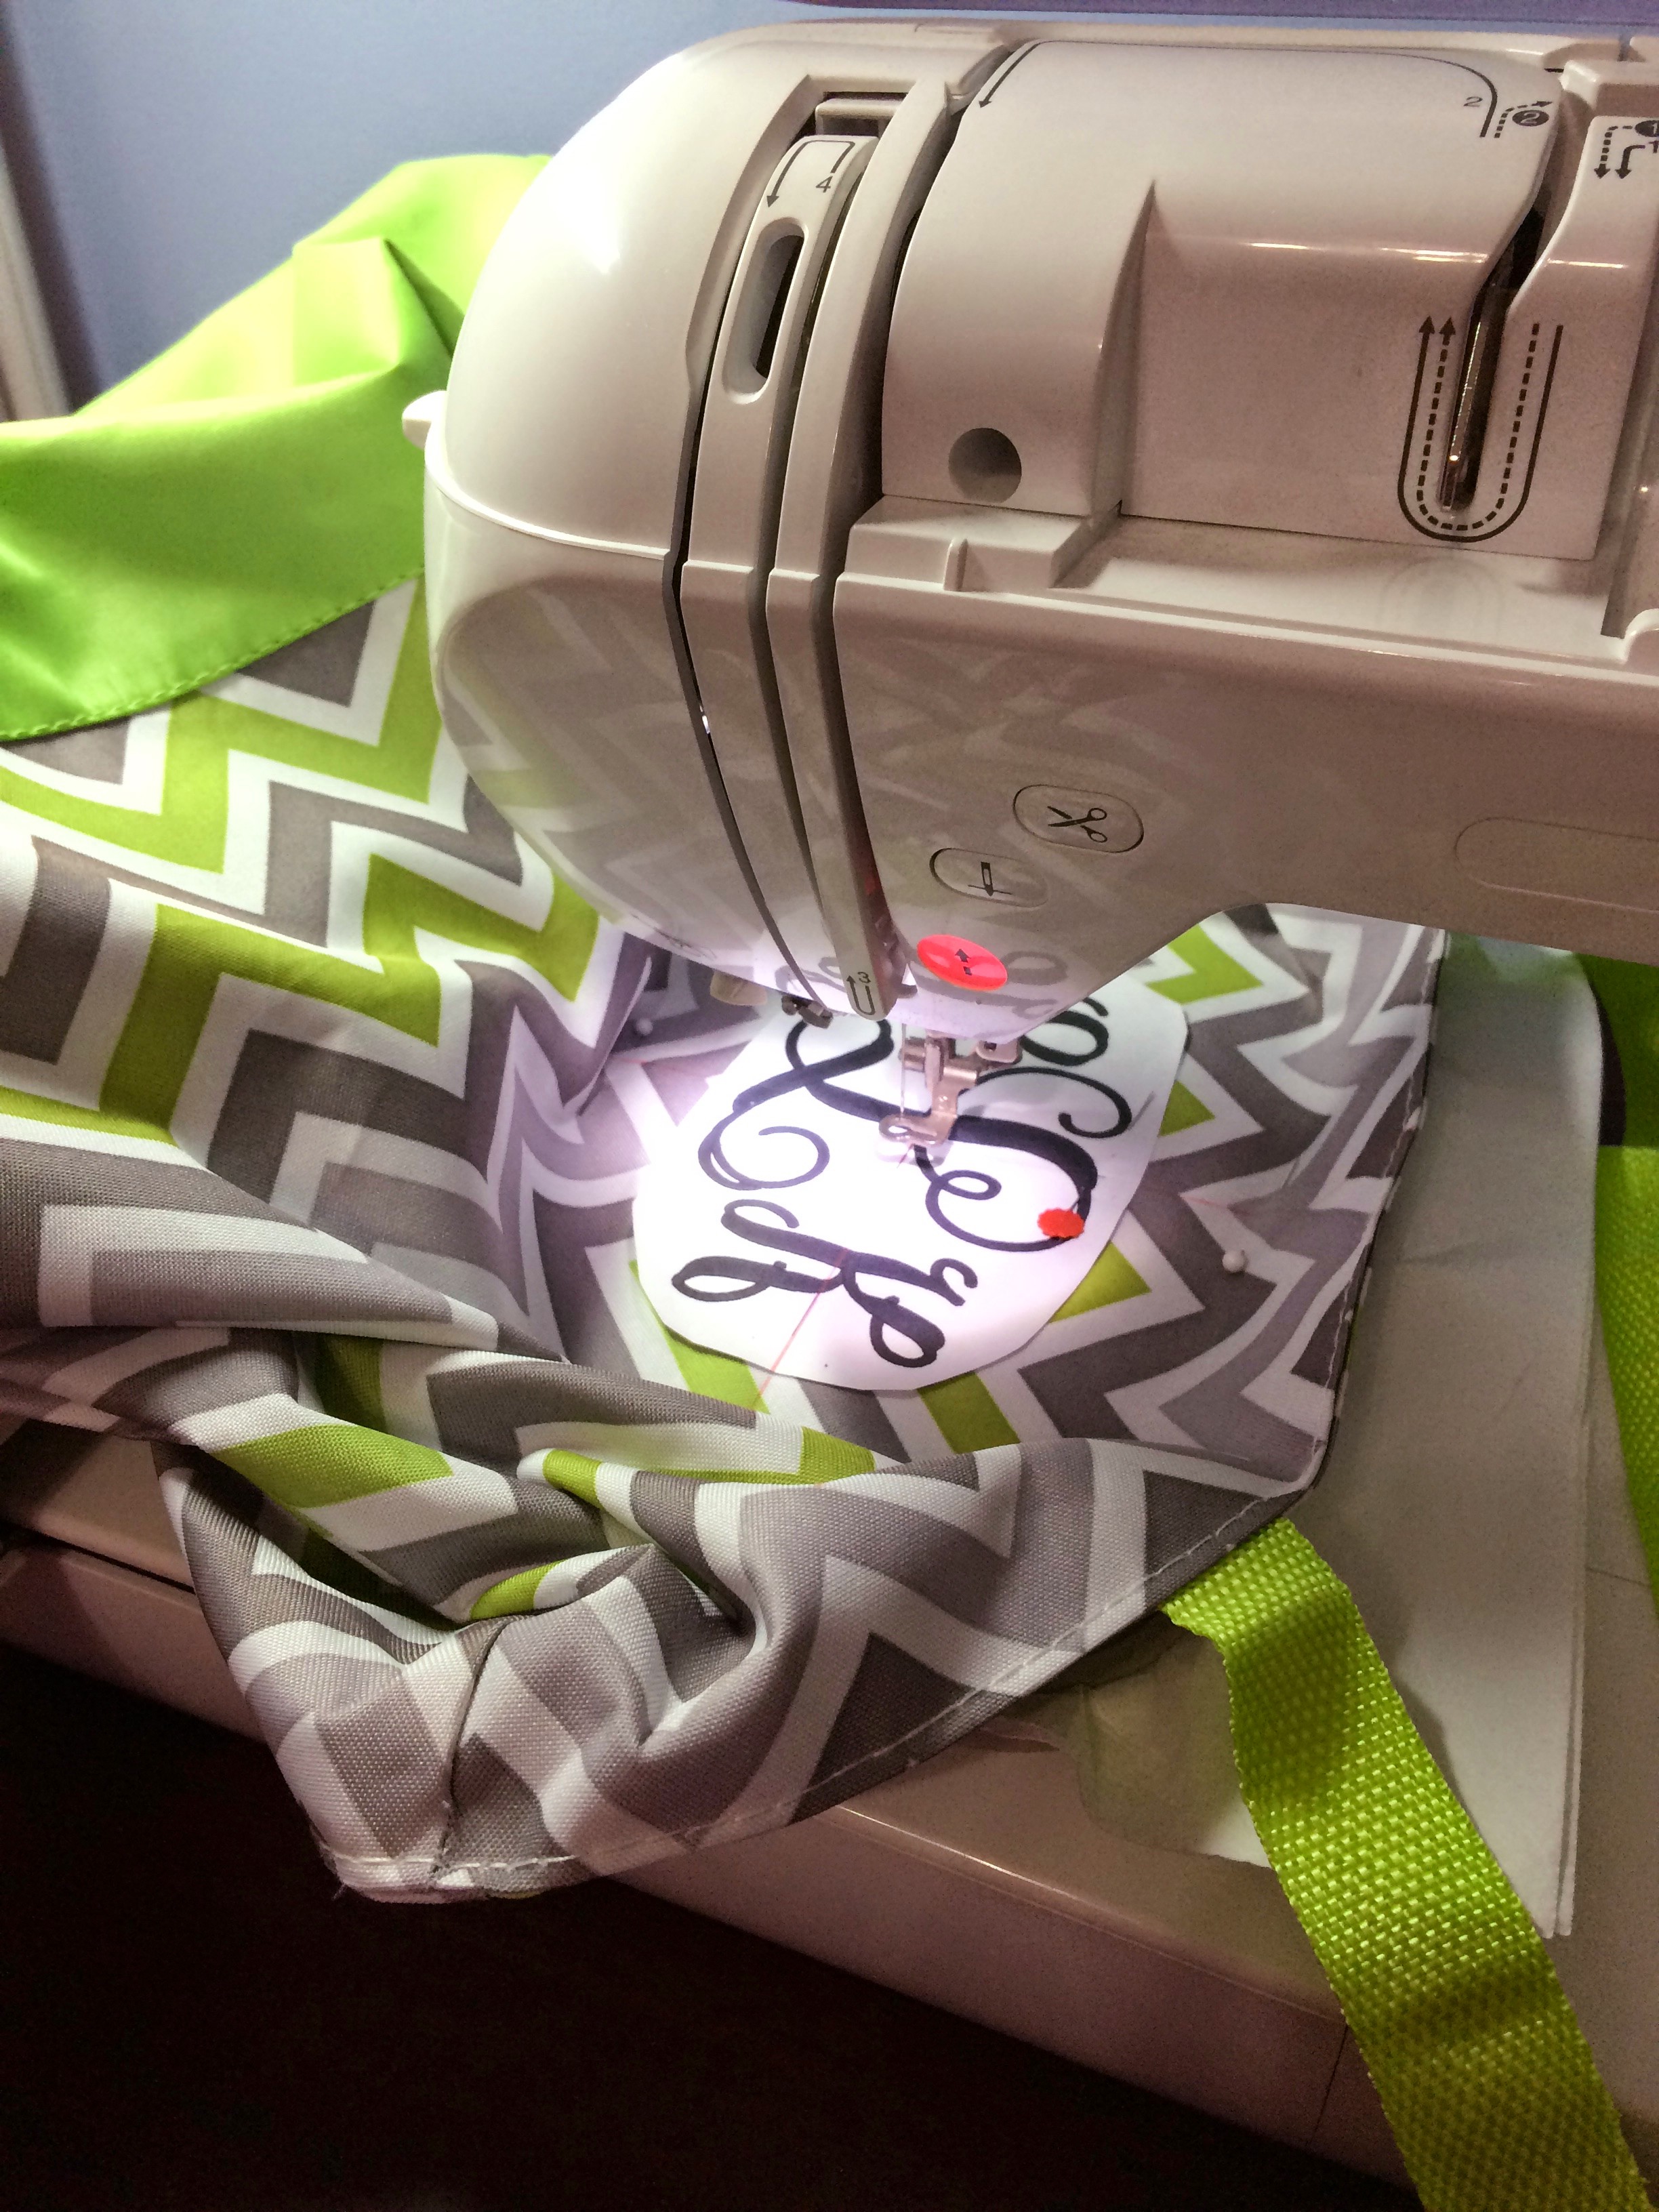 Some people turn tote bags completely inside out when they attach the hoop to the machine. I do that if I have to, but if I can get away with it, I just pull the opposite side of the tote bag out from the under side and let it bunch up around the top side of the hoop.
 This is the control panel on my Brother PE-770 embroidery machine. I have already saved the design I want to sew-out from my computer to my flash drive. I’ve plugged my flash drive into the side of my machine. By touching this icon, I’m telling the machine I want to sew a design that is located on my flash drive. If you have a different machine, your control panel will likely look different, but there will be options to do the same steps – they may just look different.
 Next I need to tell my machine WHICH design on my flash drive I want to sew. Scroll left or right until you see the design you want to sew out on the screen. Touch the design you want to sew.
 Next you have to send the design from the flash drive to the machine – touch the “upload” icon to send your selected design to the machine.
 The hoop will do some shifting around, and will likely land in a place that isn’t at the center of your design. HERE is reason the printed design with the cross-hairs in the center of the printed design becomes so important. You need to tell the machine where the center of your design is. You can see that my design falls left and a little lower than center in this photo.
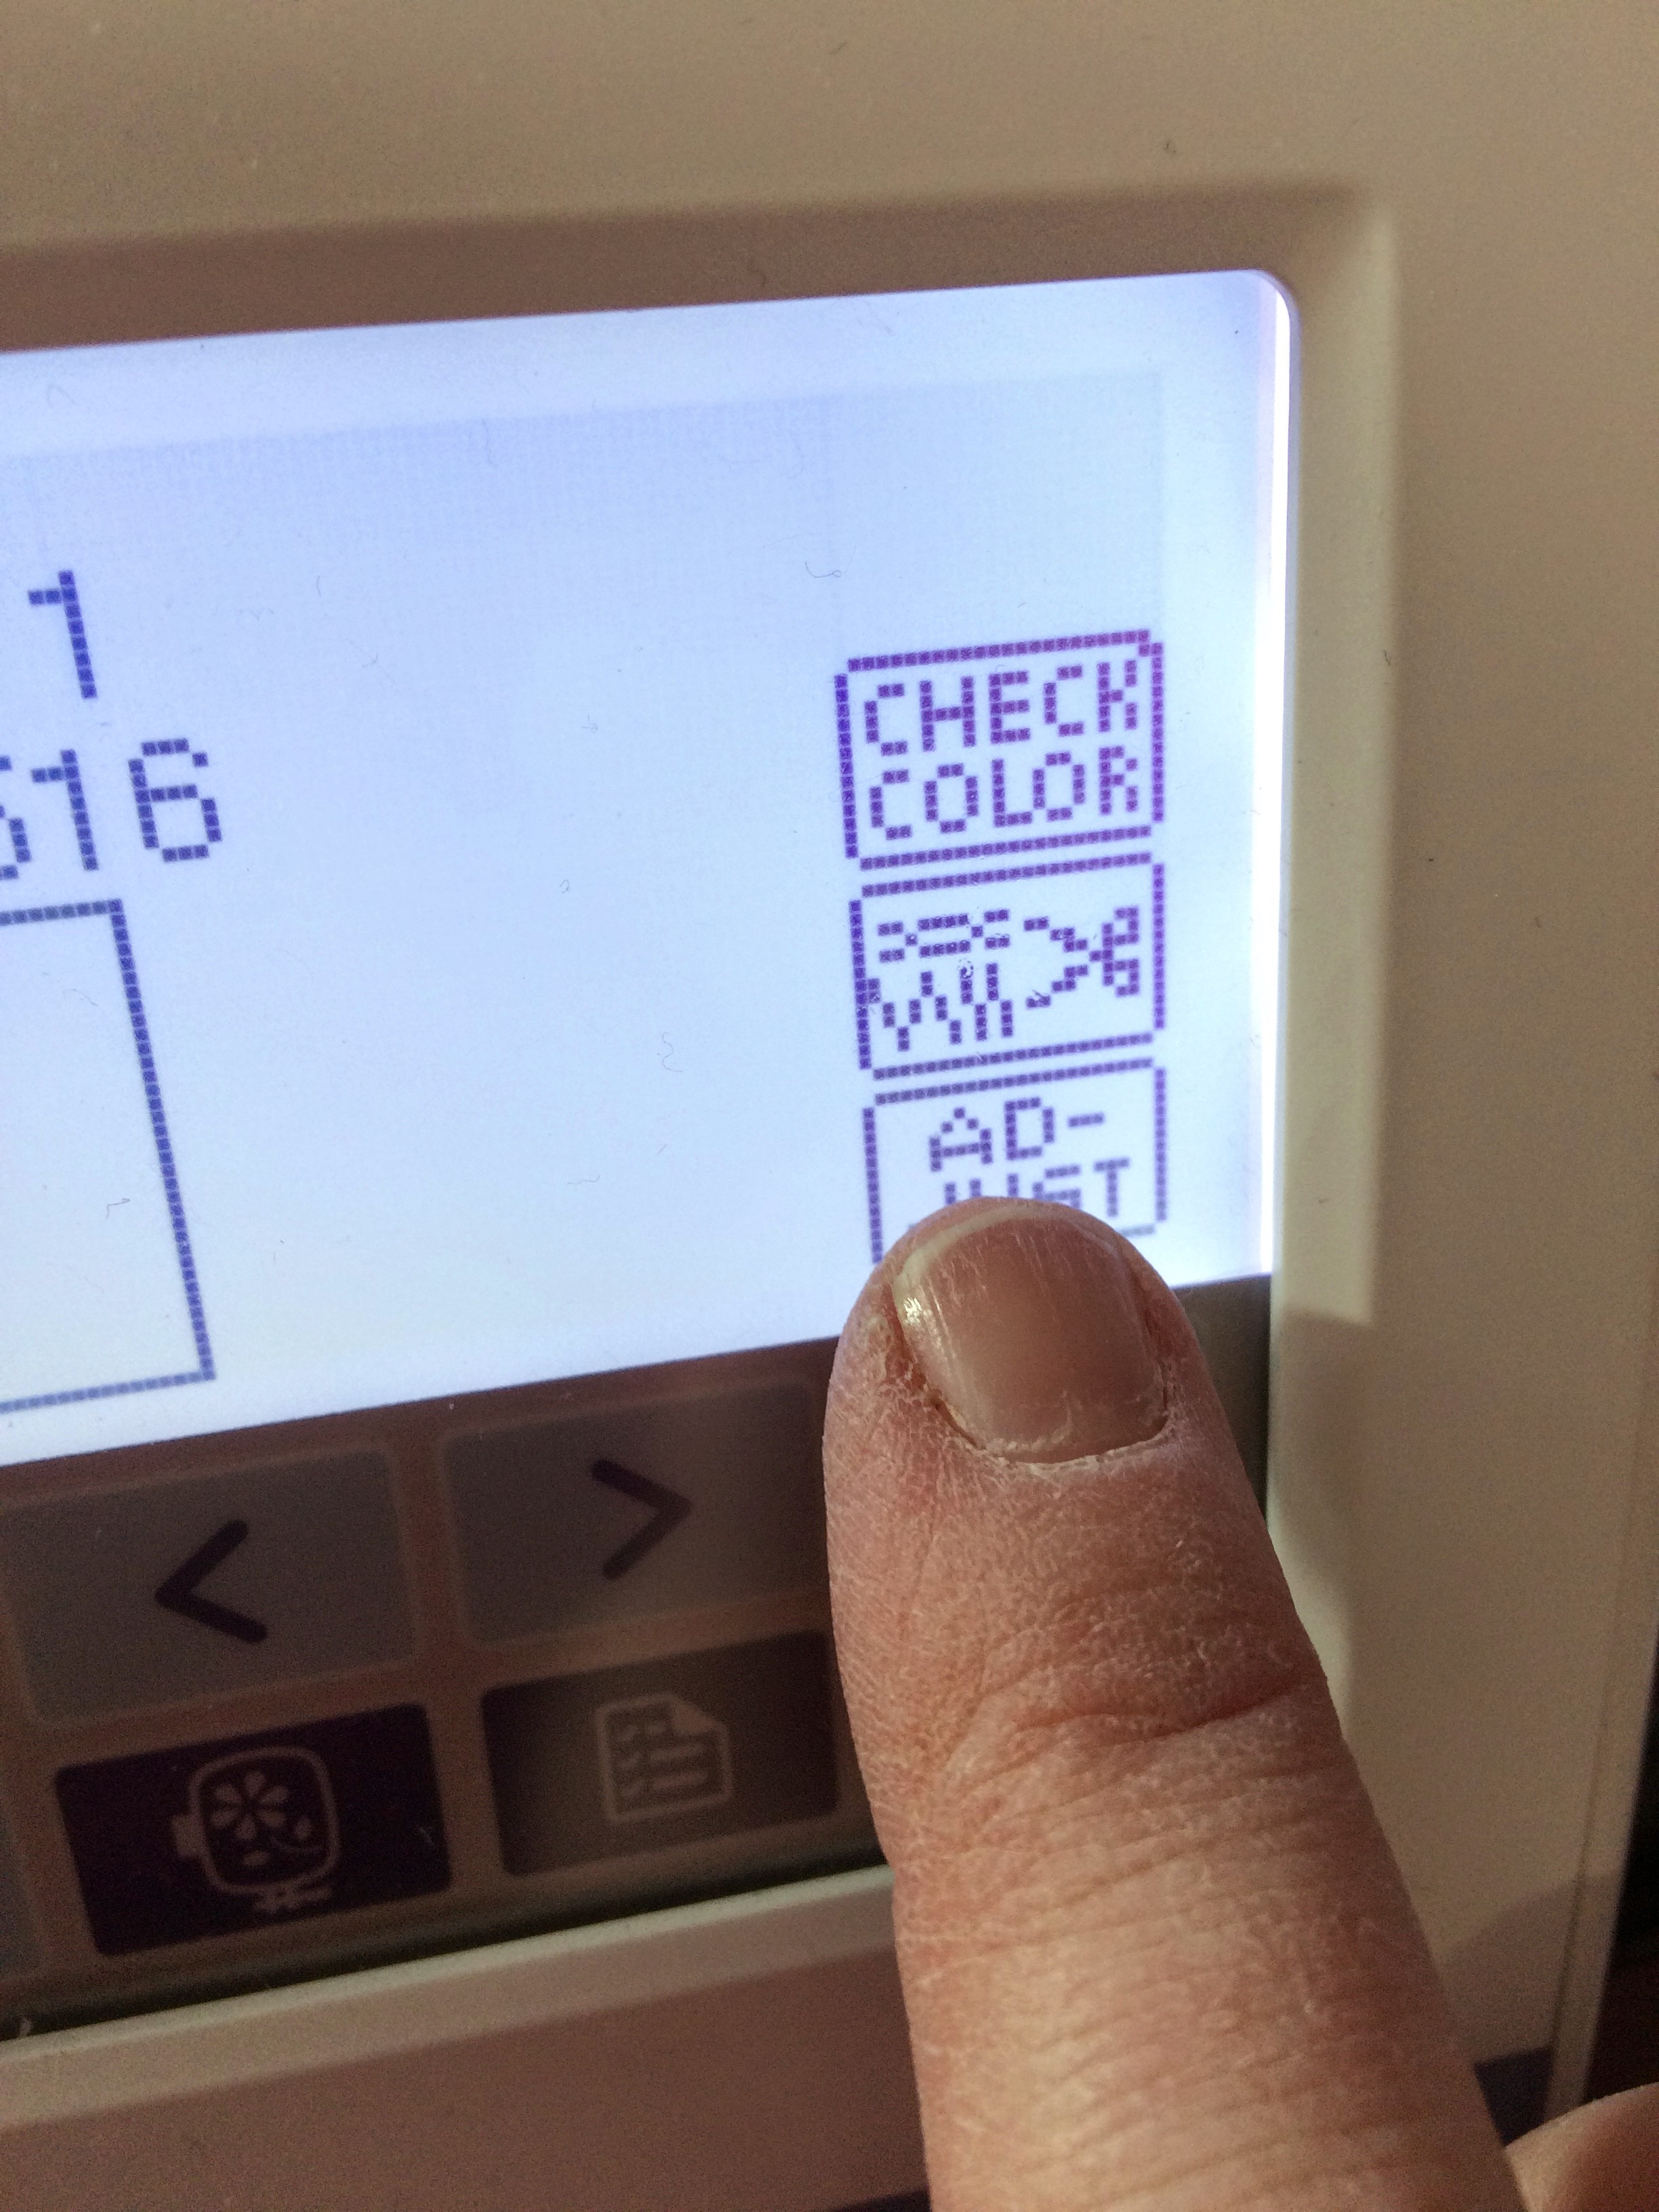 To tell the machine where the center of your design is, choose “ADJUST” on the control panel.
 Then choose “LAY-OUT”
 Touch the arrows to move your hoop left or right and up or down to get your needle to fall exactly in the center of those cross-hairs on your printed design.
 See how the cross-hair center point falls exactly in the center of my needle hole (I’m sure it’s really called something other than a “hole,” but you know what I mean)… THIS is what you want the centering to look like before you begin sewing.
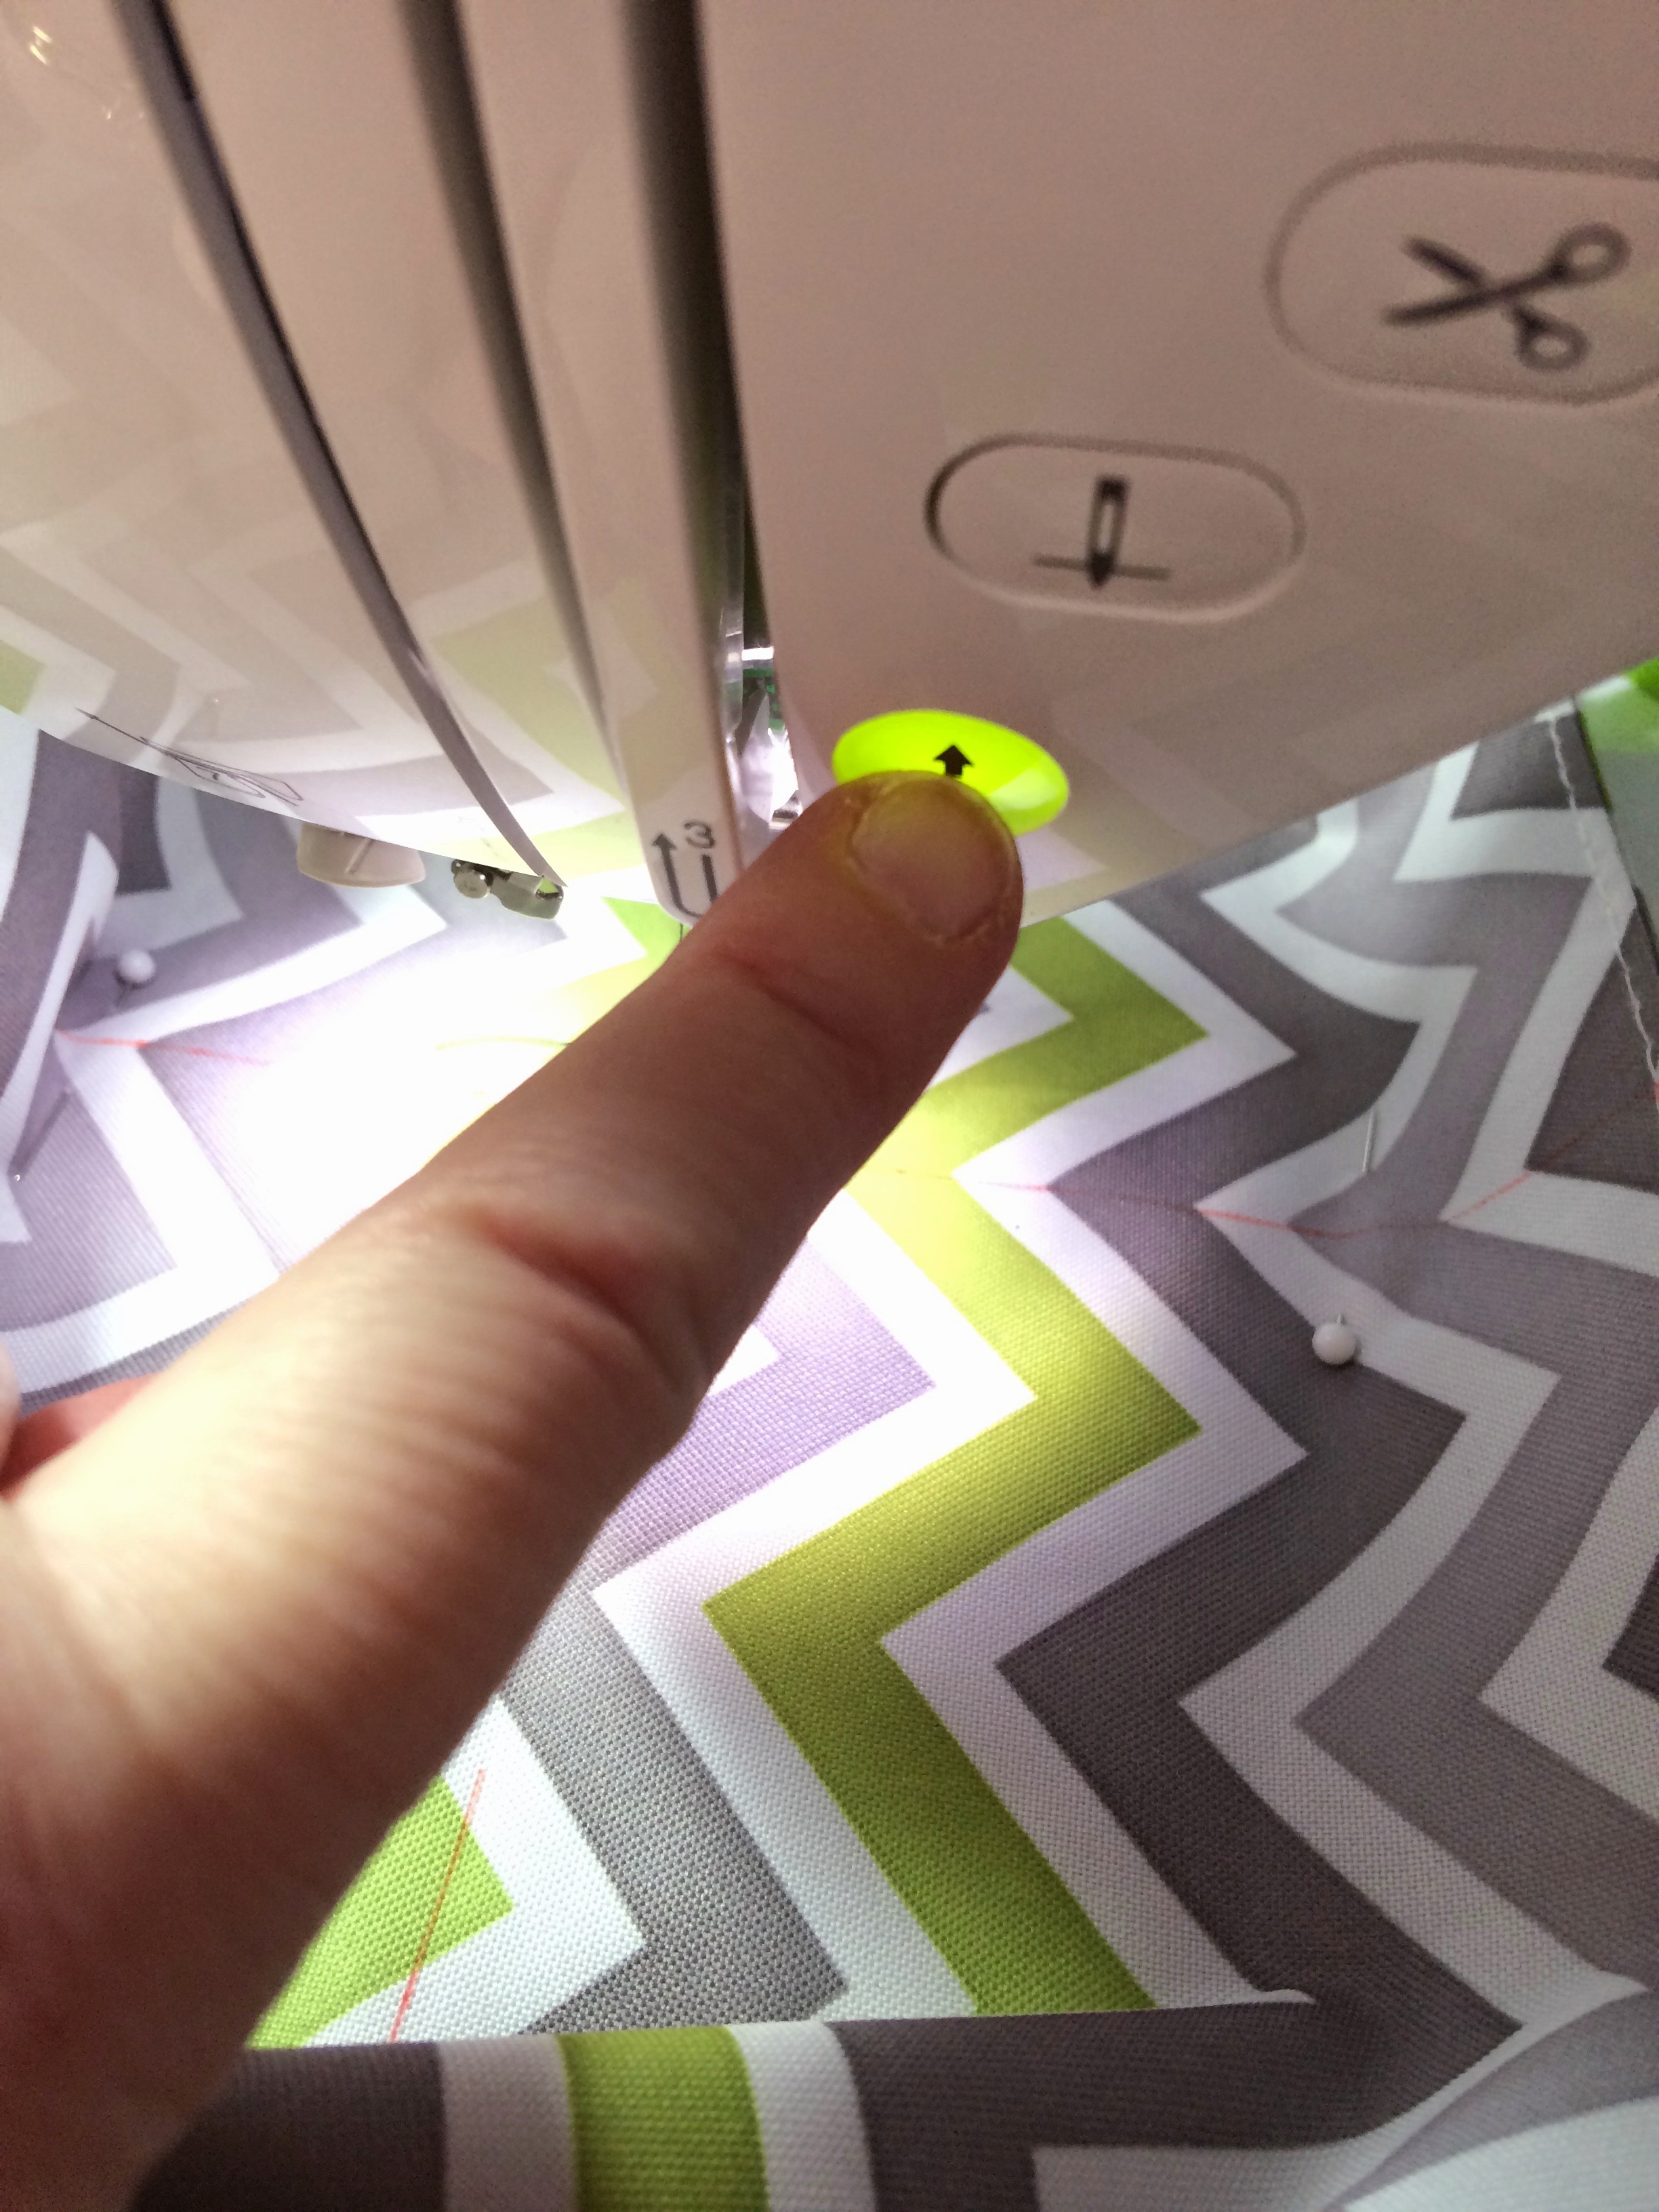 I’ve removed the paper copy of my design now that I’ve centered my needle with the cross-hairs (I don’t move the hoop to remove the paper design – just take any pins holding your design out carefully (don’t remove the pins holding the tote bag to the stabilizer). Be sure not to move the tote bag or the hoop while you are unpinning the paper. Now it’s time to push “GO!!”
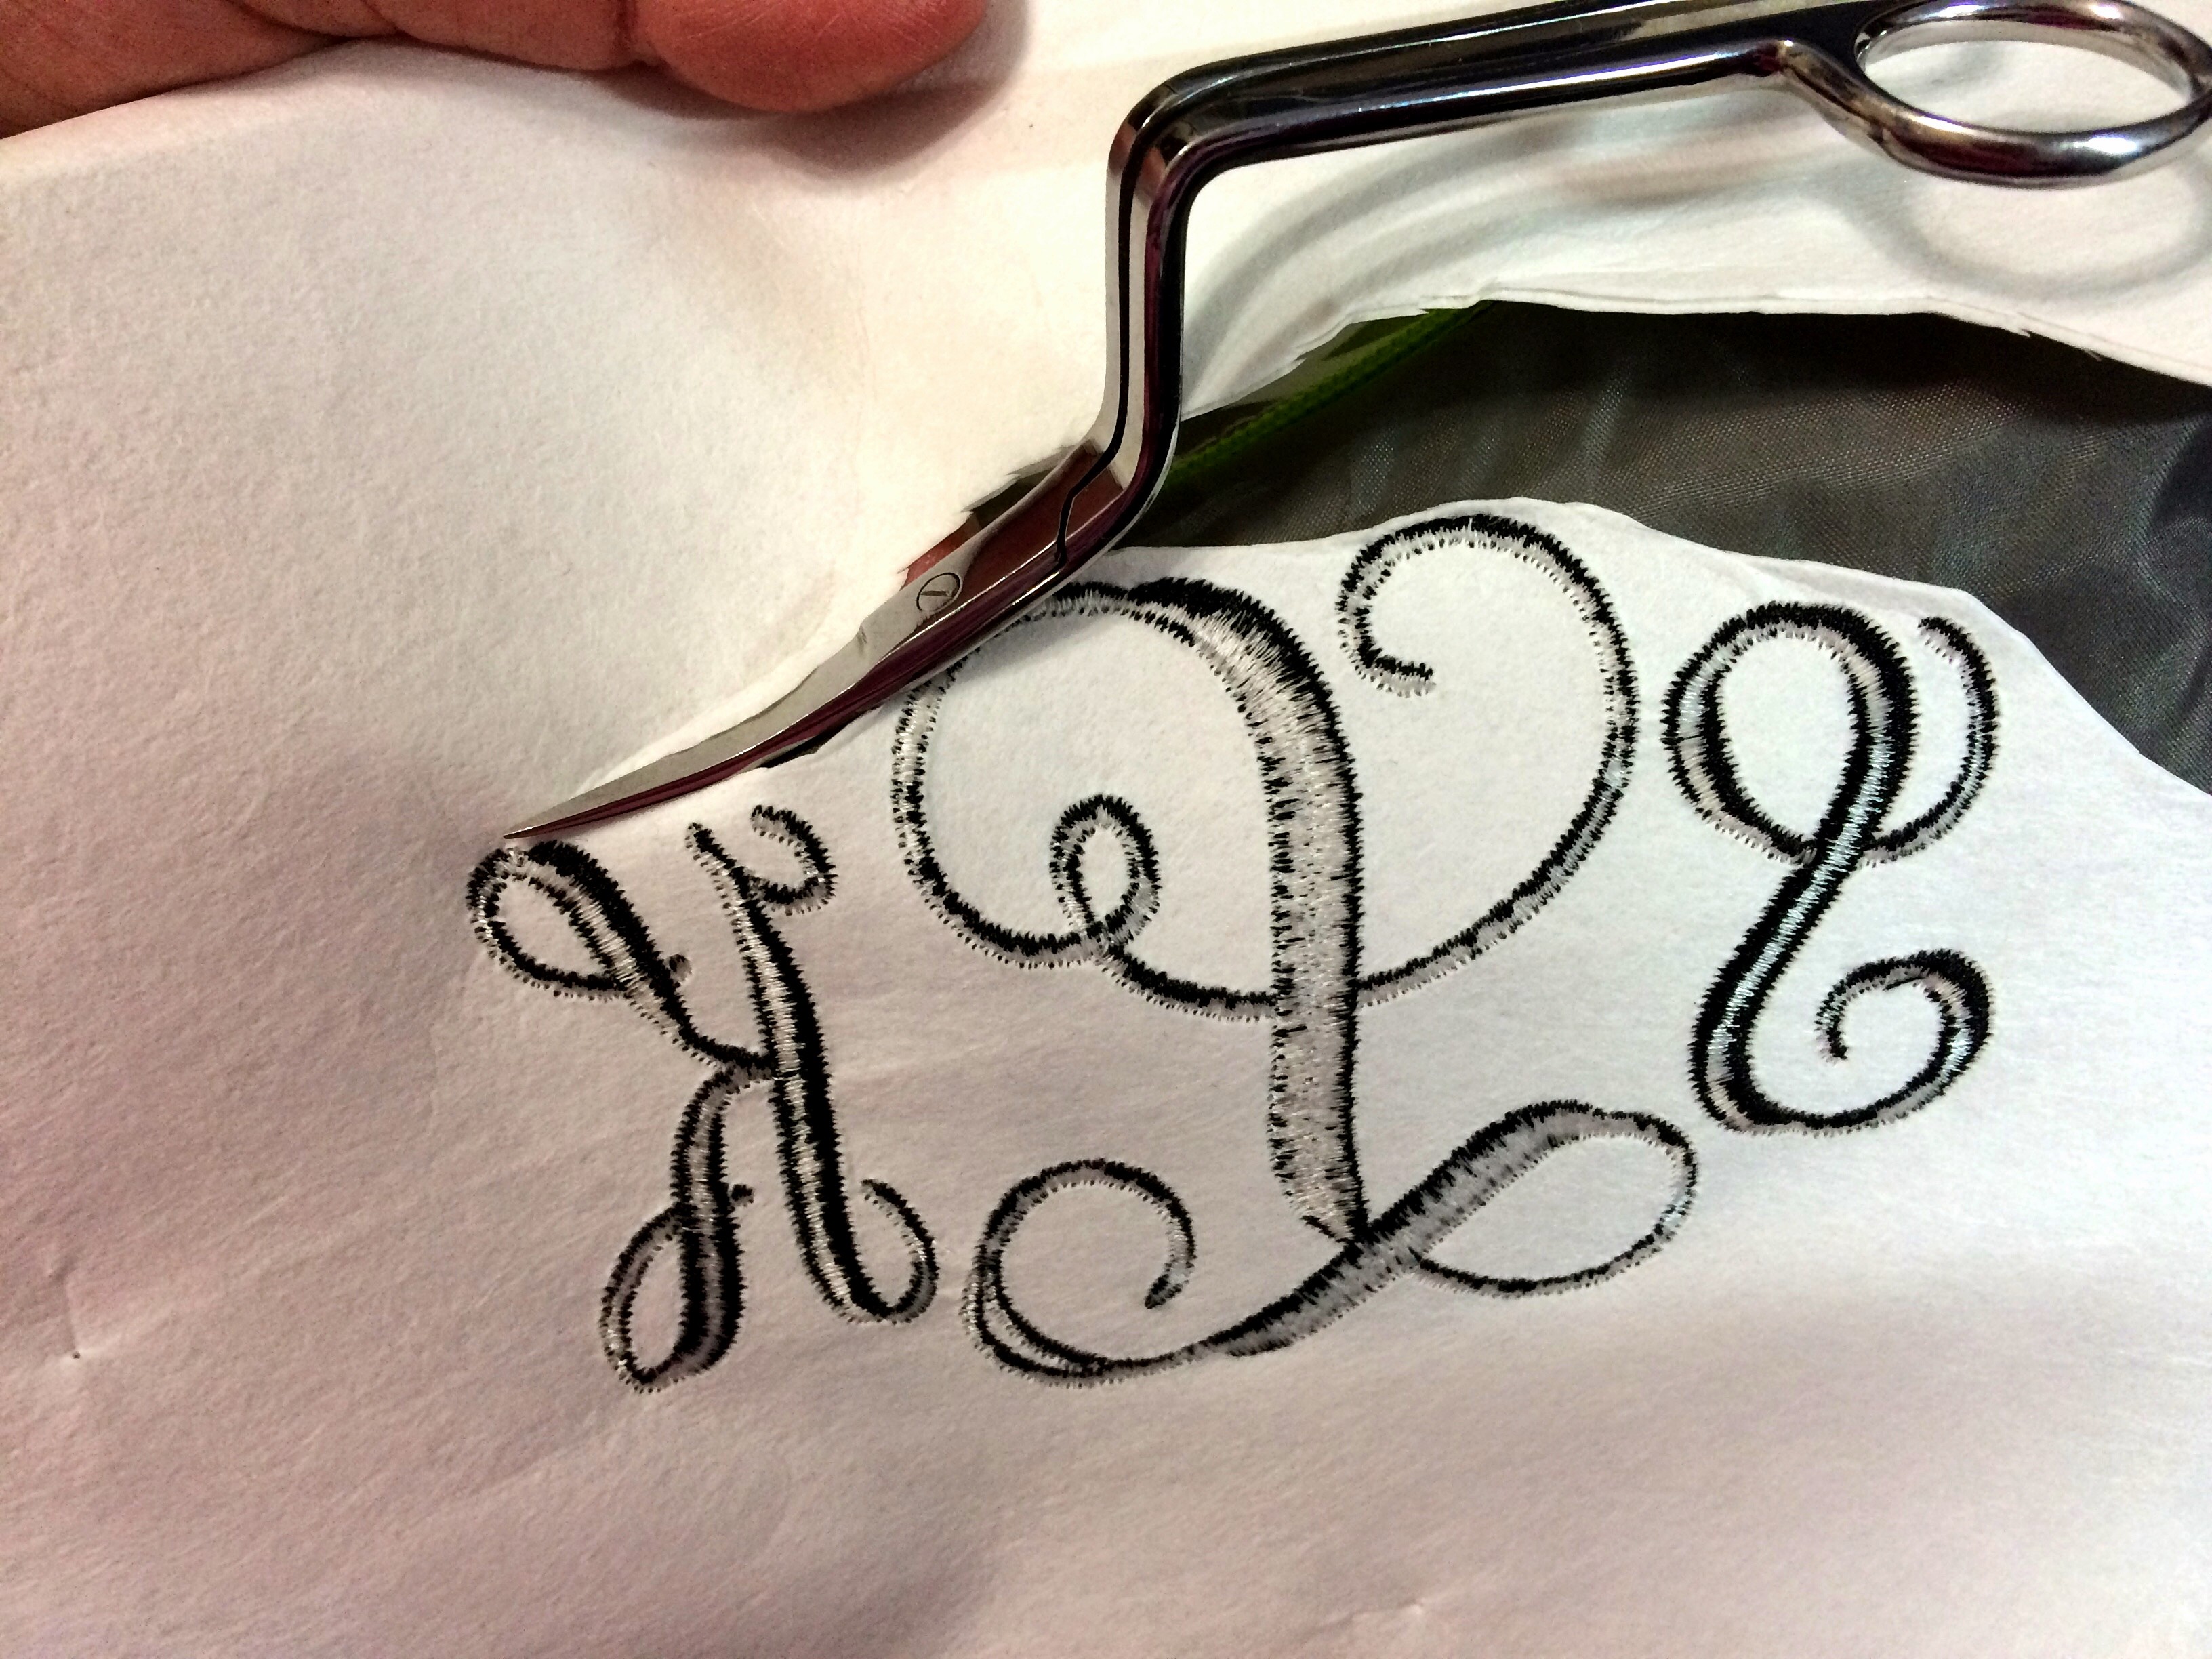 When the sew-out is complete, unhoop your tote bag and CAREFULLY cut away the excess stabilizer.
 Finally, take the eraser end of your FriXion pen and erase the remaining centering lines. Don’t worry if a small amount of ink remains, you can press the tote bag with a warm iron (no steam) and the rest of the gel pen ink will disappear.
 .And here’s the final result.
* * * * * *
Disclaimer – I am NOT a professional – I’m a hobbiest – I’ve only been embroidering since December of 2013 – I found there is so little out there to help us learn how to complete an embroidery project from beginning to end, I thought I’d try to take some photos of the steps that I do in hopes that it might help someone else in the learning process. This may not be the “right” way, but it works for me.
* * * * * *

AWESOME, THANKS & GOD BLESS!
LikeLiked by 1 person
Thanks, @Susan Cook! I hope you find this information helpful to you!
LikeLike
Susan, so grateful for Creations by Suebella4u. Your work is gorgeous and your tutorials are well-done!! Thx.
LikeLiked by 1 person
Just wondering……what do you do when you try to adjust the layout, and the layout will not adjust far enough up or to the side? I stitched a tote bag last week, and I had very carefully done all of the measuring, but my PE770 would not adjust enough to place the “hole” right in the center.
LikeLiked by 1 person
Debbie, if it’s close I just let it go. If it’s more then a quarter inch then I would likely re hoop it and hope to get it closer to center.
LikeLike
great info, clearly presented – thank you!
LikeLiked by 1 person
How did you get all three letter to embroider at the same time mine will only do one.
LikeLike
You need some sort of embroidery software. I use Embrilliance.
LikeLike
Hi! Thanks for this tutorial! I was wondering if you could tell me what needle you used for this canvas bag compared to embroidering shirts or other normal material items. I fear that if I use my 90/14 needle that it will break and ruin the bag.. Also, do you recommend a certain tension setting for canvas? Thanks for your help. I have a brother se425. Thank you!
LikeLike
Hi Kristina!
I use the needles size that came with my Brother PE 770 machine… a 75/11. I’ve never really changed needles for any project. I also never change the tension on my machine. Whatever the factory settings are on my PE 770 are the settings I use for every project.
I hope this information is helpful to you.
LikeLike
How far did you come down from the top of your tote bag to get the center?
LikeLike
Hi Diane!
I usually don’t specifically measure from the top to put a design on a tote bag. I just draw the vertical line so I can center the design from left to right, then I just eyeball how far down I want the design on the bag. In this case, it looks like the top of the letter “L” is about 3″ from the top and the center of the “L” is about 5″ down from the top. I sent the bag to my aunt in Wisconsin or I would specifically measure it for you. The printed paper design should give you an idea if your design is too high or too low.
I know this wasn’t a straightforward answer, but I hope it was helpful to you!
LikeLike
WOW!!! Thanks for responding so quickly!!! Your answer helps so much!!!. Everything you put in this tutorial was exactly what I needed. So appreciate this because it’s so hard to find how to do this if you are just beginning with no one to teach you. The pictures were great too! Just thanks so much for taking the time to share with all of us!
LikeLiked by 1 person
Happy to help, Diane! The reasons you explain (no organized learning resources) are exactly the reason I started this blog! It makes my day to know I’ve helped at least one person! 🙂
LikeLike
OMGoodness!!! My canvas red tote bag turned out BEAUTIFUL with your instructions!!! Thank you so much!!!!
LikeLiked by 1 person
This REALLY made my day! I’m so happy I was able to help you successfully complete your project! I’d love to see a picture of your finished project… and even post it on my blog, if you would be open to that! If you want to email me the photo for posting on my blog, just send it to suebella4u@hotmail.com.
LikeLike
I will be glad to do that!!!
LikeLike
I am a beginner, and am preparing to do a tote bag as well. Will the inner lining move or pucker while my PE770 is doing its magic?
LikeLike
Hi Tracy!
Your lining should be fine if you pin your project well enough!
Good luck!
LikeLike
Will the inner liner on the tote bag pucker or move while machine is stitching? If so, what do I do to avoid this?
LikeLike
As long as you make sure your lining is smooth when you hoop/float your tote bag and then pin it on every side your lining shouldn’t pucker or move. Take the time to make sure your lining is flat while you are hooping, then pin multiple times on every side.
Good luck!
LikeLike
YAY!!!! I did another tote bag using your instructions!! Thank you so much for making this tutorial. I do have a question though. When I use pins for hooping the bag to make sure it doesn’t move when embroidering, I get the pin in but can’t bring it back up through the hoop. Maybe it’s the type canvas bag I am using, or my stabilizer is so thick the type pins I am using won’t work., Does anyone else have this problem?I mostly just spray a lot of adhesive on it, but notice when embroidering it comes off that in small areas, and I hope and pray the adhesive is helping hold it down in other areas. And I guess it has as it’s turned out great…what about embroidery tape? Does it have sticky on both sides? Maybe I need tape in those small areas?
LikeLike
Also, do you cut around the monogram and not inside all the lettering when finished monogramming?
LikeLiked by 1 person
Hi Diane! Yes, I trim away the stabilizer inside the tote bag. I just trim as close as I can get and call it good enough.
LikeLike
Please explain cross hairs…
LikeLike
The crosshairs are the lines in the very center of your printed design . One line is completely vertical, the other line is completely horizontal. The point where the vertical and horizontal lines intersect is the center of the design and the place where you want to align your needle. Does this help?
LikeLike
Hi Shawn!
When you print your design you will see an intersecting vertical and horizontal line in the center of the design. That marks the exact center of your design and is referred to as the “crosshairs.” You can use a ruler with the vertical and horizontal lines to make sure you line up your design straight in the hoop. I hope this helps.
LikeLike
Do you have any instructions for getting started using the machine? I am a newbie and want to learn but the videos are not for me. They have so much needless information. I am interested in a step by step guide to start a programmed embroidery piece.
LikeLike
Hi Hallie! I don’t have an all inclusive tutorial, but my friend, Nadia, does:
http://withglitteringeyes.blogspot.com/2015/12/how-to-use-your-new-embroidery-machine.html?m=1
LikeLike
Did you stitch the design backwards? How did you get the machine to do that?
LikeLike
Hi Amanda!
No it’s not sewn backwards, I just rotated the design in Embrilliance so I could mount the tote bag with the bulky side to the left which makes the hooping process easier. Does this help you??
LikeLike
Thanks so much for this excellent tutorial. I had purchased a vinyl tote bag to monogram, and was putting it off due to fear of not being able to align it properly. When I read your tutorial, my thought was that this had to be the ticket because of the detail. I completed the monogram, perfectly aligned, and was brave enough to do another one, which also came out perfect.
Thanks again so much.
LikeLike
Oh, Barbara! I’m so happy my process worked for you! I’m pretty sure the hard part is working up the nerve to get started and not the embroidery process itself. Congratulations on a job well done!
LikeLike
Hi Barbara! You made my day!! I’m so glad your tote bags turned out well. The process is pretty simple once you have it down. Tote bags or one of my favorite things to make because the embroidery always turned out so nice on canvas or heavy vinyl. Thanks for letting me know my process worked for you!
LikeLike
Love this tutorial! Just got my machine & still somewhat overwhelmed! Need all the tips I can get.
LikeLiked by 1 person
Your tutorial is excellent! I am about ready to start a canvas tote myself. I’ve learned a lot. Have had several projects not turn out so well-very frustrating
LikeLiked by 1 person
Hi Jerri! How did your tote turn out? Embroidery does take some time to perfect but it’s very addictive once you get it down. Let me know if you have any questions or if I can help you along the way.
LikeLike
You have described everything in deeply way this is really informative article for improving skill of beginners.
LikeLiked by 1 person
Thank you. It’s not an easy thing to learn. I hope this is helpful.
LikeLike