
* * * * * *
Disclaimer – I am NOT a professional – I’m a hobbiest – I’ve only been embroidering since December of 2013 – I found there is so little out there to help us learn how to complete an embroidery project from beginning to end, I thought I’d try to take some photos of the steps that I do in hopes that it might help someone else in the learning process. This may not be the “right” way, but it works for me.
* * * * * *
This tutorial is dedicated to learning techniques to machine embroider a kitchen towel. Since St. Patrick’s Day is quickly coming upon us, I chose an appropriate holiday design for my towel (design purchased at Embroidery Library – http://www.emblibrary.com/el/Products.aspx?Catalog=Emblibrary&ProductID=e3796). I purchased the burlap towel at All About Blanks (http://www.emblibrary.com/el/Products.aspx?Catalog=Emblibrary&ProductID=e3796). On with the tutorial…
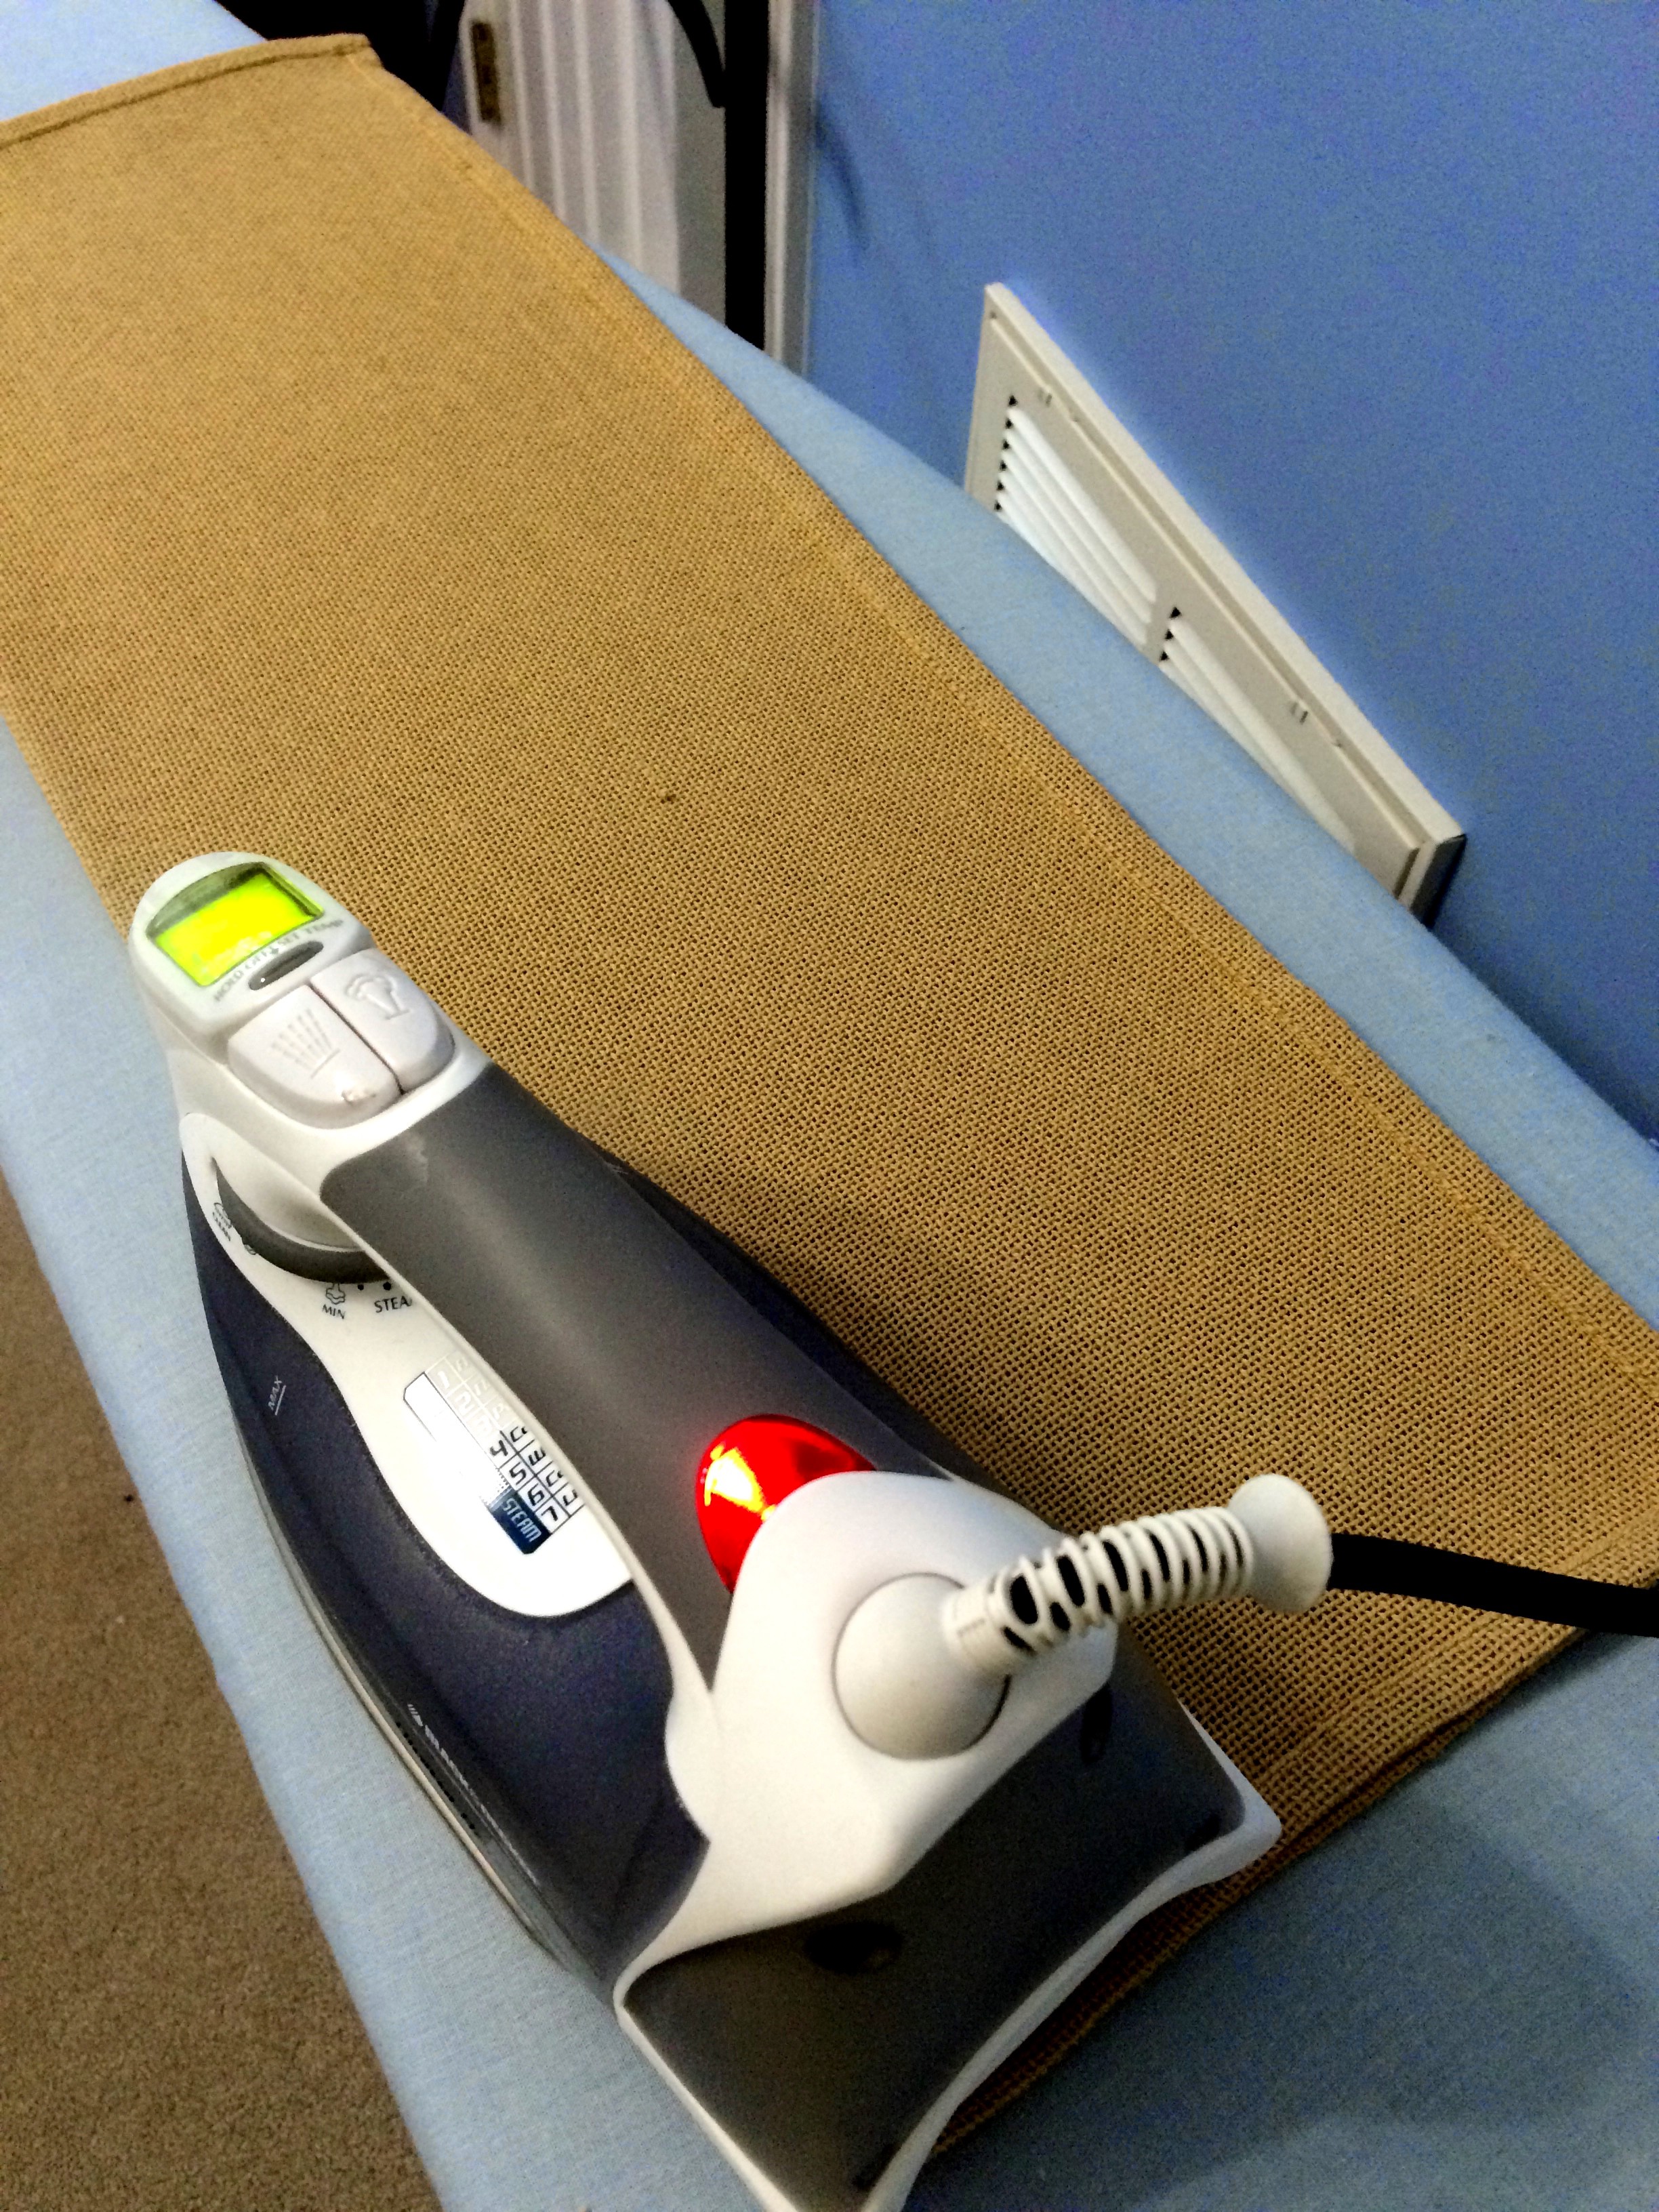
For a square or rectangular project I start by pressing a center line down the entire length of the project. Here I folded the towel in half (long-wise – right sides together). This provides the horizontal centering line for the design.

Next, we need to create a vertical centering line. My design measures approximately 5″ in height, so I know I want half of that (2.5″) above my vertical centering line and half below. I also like to leave 3″ between the bottom of a kitchen towel the design, so I folded up the bottom of the towel (right sides together) and pressed the horizontal centering line at 5.5″.

Next I hoop medium weight tear away stabilizer in my 5×7 hoop and draw horizontal and vertical centering lines with my Frixion Erasable Gel Pen (http://www.joann.com/pilot-frixion-ball-erasable-gel-pens-open-stock-red/12200028.html).

Next I spray my stabilizer with a temporary adhesive. I use Sulky KK2000.

I use the centering lines drawn on my stabilizer and the pressed lines in my towel to help me center my towel on the hoop. First line up the fold with the drawn centering line, then unfold the towel (not shown) and match the opposite pressing line with the drawn centering line. The goal is to have the intersection point of the pressing lines in the same location as the intersection point of the drawn lines. Then I attach the hoop to my embroidery machine. This hooping process is called “floating.”

This is the control panel on my Brother PE-770 embroidery machine. I have already saved the design I want to sew-out from my computer to my flash drive. I’ve plugged my flash drive into the side of my machine. By touching this icon, I’m telling the machine I want to sew a design that is located on my flash drive. If you have a different machine, your control panel will likely look different, but there will be options to do the same steps – they may just look different.

Next I need to tell my machine WHICH design on my flash drive I want to sew. Scroll left or right until you see the design you want to sew out on the screen. Touch the design you want to sew.

Next you have to send the design from the flash drive to the machine – touch the
“upload” icon to send your selected design to the machine.

The hoop will do some shifting around, and will likely land in a place that isn’t at the center of your design. You need to tell the machine where the center of your design is. The pressed centering lines are easier to see than it appears in this photo. The goal is to center your needle hole at the very center of where the pressed centering lines intersect. Lining up the center of your project (the intersecting point of the pressing lines) with the center of the needle hole tells the machine where you want the center of your embroidered design to be.

To tell the machine where the center of your design is, choose “ADJUST” on the control panel.

Then choose “LAY-OUT”

Touch the arrows to move your hoop left or right and up or down to get your needle to fall exactly in the center of those intersecting pressing lines on your hooped project.

You don’t have to do this step if you don’t want to – I like to use it – I think Heat Away gives me a much cleaner sew-out, but it is optional if you just don’t want to use a “topper.” You can also use a water soluble stabilizer rather than Heat Away – both accomplish the same thing – I just prefer Heat Away.

Now that I’ve centered my needle with the pressed intersection center point
on my towel and have my Heat Away in place it’s time to push “GO!!”

I almost always use a basting stitch (unless it would make holes in my project that would be seen later – like leather purses or some canvas tote bags). I use a basting stitch file that I merge into my design as the first “stop.” I got my basting stitch files from Embroidery Garden and they were FREE! You can get those here:
http://www.embroiderygarden.com/shop/free-designs-projects/basting-files-basj65.html

After the basting stitch sews out, the machine will likely stop and wait for you to tell it that you are now ready to begin sewing your design. You might have more than two “stops” if you have several colors in your design.

And the sew-out is progressing nicely…

The final product.

Hello Susan. I just want to tell you how much I love,love,love your blog. You have made the challenge of hooping much less daunting. I have found this to be one of my biggest fears and after reading and studying your steps I am not as terrified as I was that I will ruin a project. I am always fearful of not measuring correctly and the layout will be off but I really do understand better now thanks to you. Best regards, Nicolina 🙂
PS Susan I like your tutorial for the Floating Nativity Ornament but by accident I posted my comment there when I really meant to comment here. This is where I thought I had posted the other day. I”m sorry. I couldn’t locate that either. We had really bad weather here and our cable & electric was out many times this week due to ice. Maybe it got lost in the airwaves..???
LikeLike
You are so kind, Nicolina! I hope you can use this information to feel more confident in your embroidery. I’ll try to do more tutorials in the future.
LikeLike
Brother embroidery machine PE-770 is one of the best machines of the brand Brother, as well as products Brother SE400. a good choice
LikeLike
Thanks for share 🙂
LikeLike
How do you stop the jump stitches on this machine? I have the same and can not figure out how to get them to stop.
LikeLike
You can’t stop the jump stitches on a PE-770, Anna, unless you upgrade to a different machine. I just upgraded to a Brother Quattro 2 6700 in December and it auto-cuts the jump stitches. It’s HEAVENLY!
LikeLike
Love your tutorials because I a trying to learn to use the PE770 without dealer help. Please share more detail about “merging basting stitch into the design as the first stop”. do I need a software program to do this? Will Embrilliance allow me to do this?
LikeLike
You do need software to merge your basting stitch with your design. In Embrilliance Essentials you can find the baste design feature under the Utilities menu. You just click on “Utilities” on the main menu bar, choose “Baste Design” from the drop down menu, and Embrilliance will automatically baste your design at the perfect size. I hope this helps you, Charlynne!
LikeLike
Thanks for this tutorial. It is really helpful for a beginner like me. I would like to know how to merge basting stitch in your design? Thank you!
LikeLike
Hi Kam! This should help you:
https://sewbubbles.wordpress.com/2014/03/16/adding-a-basting-box-to-a-design-why-how/
LikeLike
Me too. I don’t understand basting stitch.
LikeLike
This should help you understand the basting box, Sue:
https://sewbubbles.wordpress.com/2014/03/16/adding-a-basting-box-to-a-design-why-how/
LikeLike
Thank you for these tutorials! They’re clear, to-the-point, and include details I couldn’t find anywhere else. (And which I couldn’t figure out on my own.) So helpful–thanks again.
LikeLiked by 1 person
Hi Rebecca! I found the same thing when I started embroidery so I was determined to find a way to help others get started with embroidery. Let me know if you need any further help along your embroidery journey.
LikeLike